Concept and Inspiration
The first delight of a rolling-ball sculpture is watching a tiny sphere bring a much larger arrangement to life. These artworks guide one or more balls along a constructed course, sometimes called a marble run or ball track. They belong to kinetic art because movement is part of the work itself. [1]
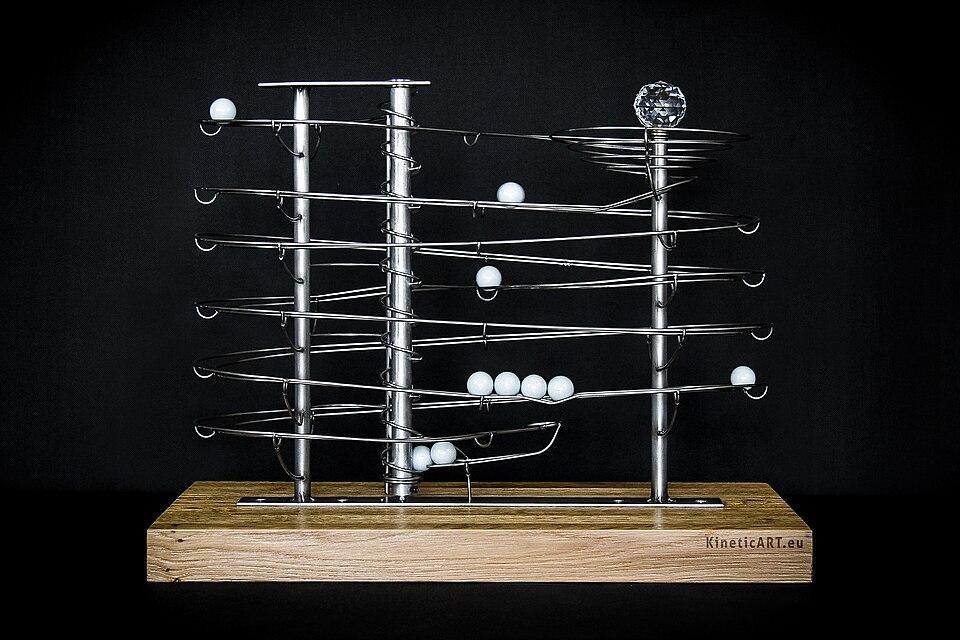
Figure 1. A metal rolling-ball sculpture with winding rails, support posts, and pale balls at different points along the tracks.
Photo: Areklodzpl | ccby-sa4.0
Kinetic art reaches beyond machines with moving parts. Some works change with wind or water, some respond to a viewer, and others look different as someone walks around them. [2] Early experiments with actual motion include Marcel Duchamp's Bicycle Wheel from 1913 and Naum Gabo's motor-driven Kinetic Construction from 1920. [2]
By 1955, movement had become a major subject of modern art: the Le Mouvement exhibition at Paris's Galerie Denise René is recognized as a landmark in the field. [2] A moving piece gives its audience a reason to keep watching. What matters is not just the shape in front of you, but how that shape changes from one moment to the next.
American artist George Rhoads made whimsical audiokinetic sculptures that reached everyday public spaces, including airports and science museums. [3] Separately, the pictured street clock contains a winding rolling-ball mechanism inside a glass-fronted cabinet beneath its clock face.
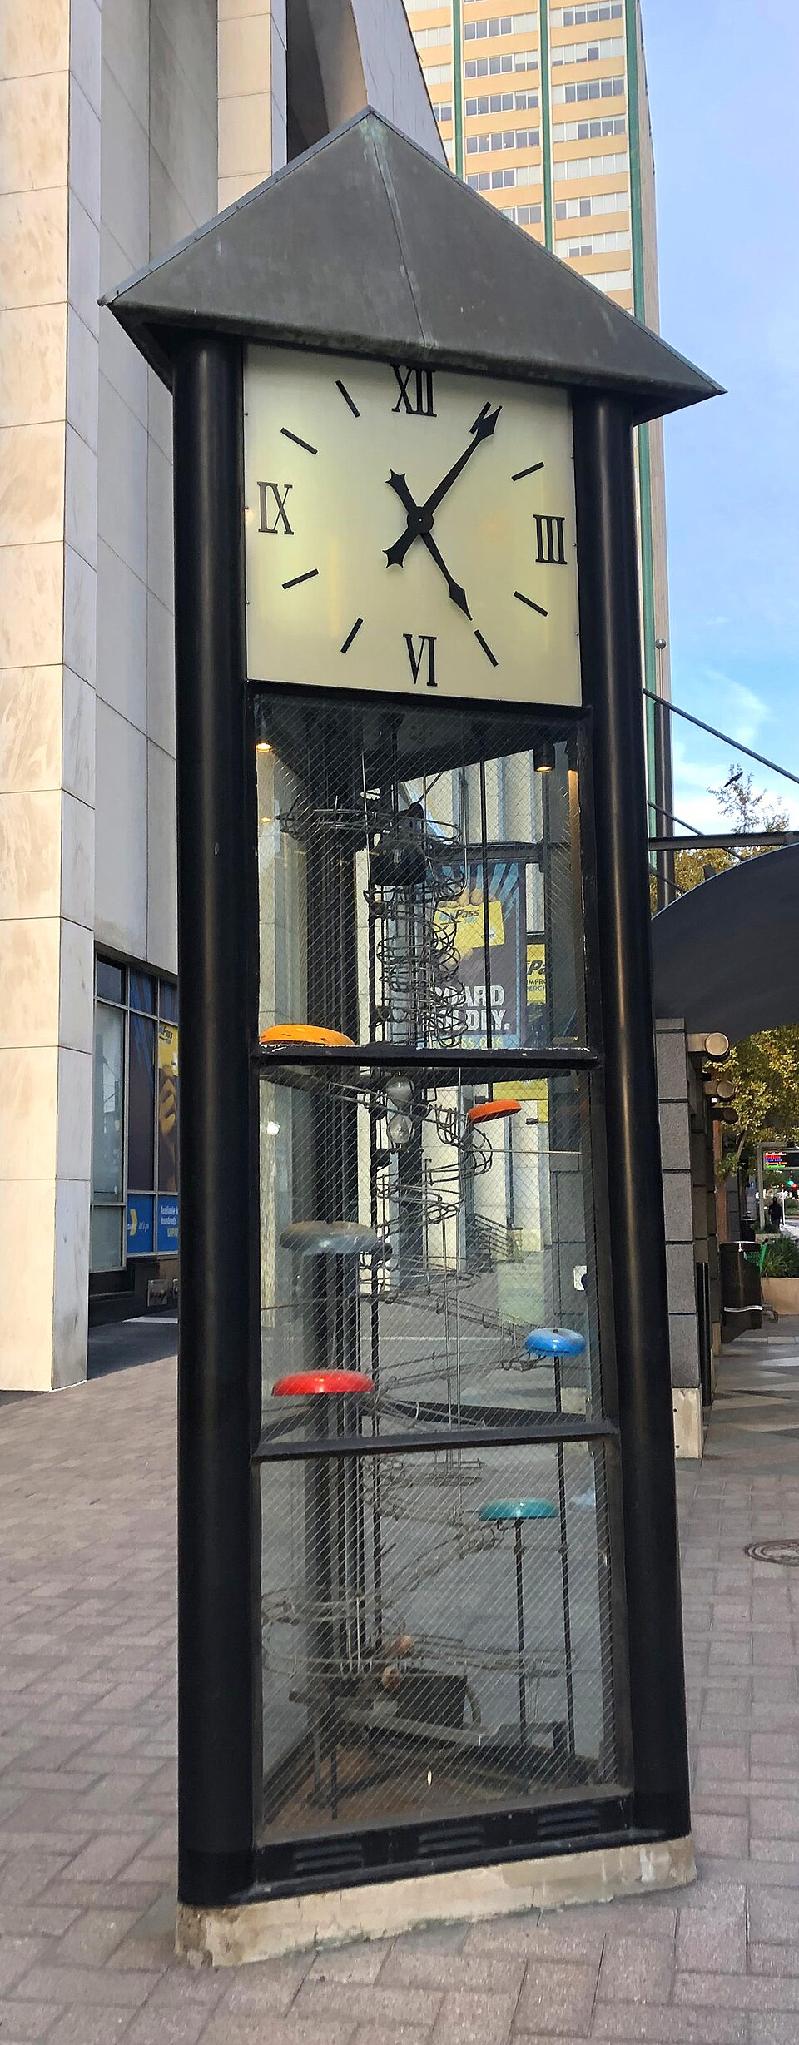
Figure 2. A tall street clock with a glass-fronted cabinet containing a winding rolling-ball structure below its clock face.
Photo: Jphill19 | ccby-sa4.0
Another useful cousin is the automaton: a mechanism that follows a sequence of operations largely on its own. [4] Rolling-ball art can also take the form of marble racing, where multiple marbles travel through a labyrinth in a contest. [1] One format invites you to watch a route unfold; another makes you care about which path succeeds.
We developed Helix Jump for Slope3 around that meeting of automatic movement and human choice. Our orange ball keeps bouncing while you turn the segmented tower around it, opening a route through purple platforms and away from red hazards. The pale central column holds the course together, while a twilight city beyond it makes this little ball machine feel improbably tall.
Story
At sunset, the city below the tower begins to dim, one window at a time. High above its rooftops stands an old lantern machine: a pillar encircled by turning rings, each one part of a route that once carried a bright amber sphere toward the heart of the city. Tonight, the rings have slipped out of order. The light still moves, but its path is broken.
Mira, the young keeper of the tower, watches the last orange sphere bounce near its summit. The safe ledges curl around the pillar like scraps of a staircase. Between them lie narrow openings, while red sections mark places where the old machine has become dangerous. Mira cannot stop the sphere from moving. She can only shift the rings and hope the next opening arrives beneath it in time.
Below, the skyline fades into lavender haze. With every successful drop, the sphere moves closer to the lantern's hidden center, and Mira catches another glimpse of the route ahead. She imagines a pulse of warm light spreading from rooftop to rooftop if the little traveler can make it through. For now, one opening is enough. The tower turns, the ball falls, and the city holds its breath.
Gameplay
In Helix Jump, you rotate the tower around an orange ball that bounces automatically. Line up an opening between the purple platform segments and the ball drops to a lower tier. Keep finding safe openings to travel farther down and build your score. A red platform section is dangerous: if the ball touches red, the run ends immediately and you must start another attempt.
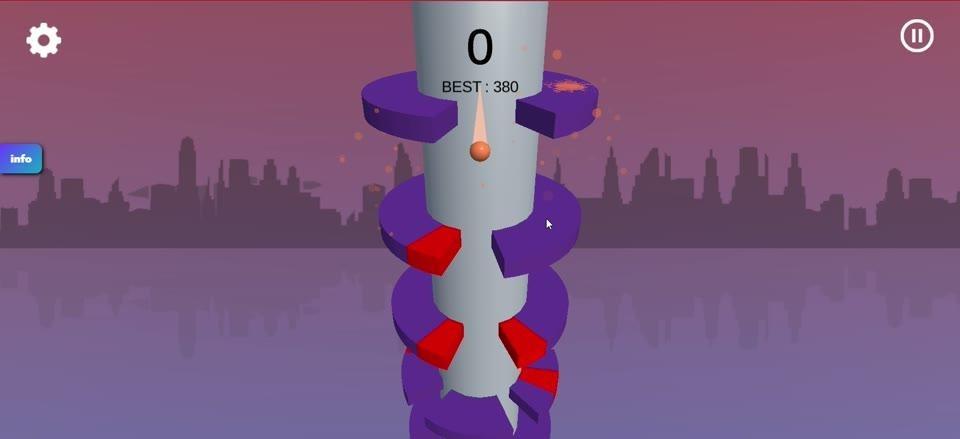
Figure 3. The orange ball sits beside the pale tower, surrounded by purple platform arcs and bright red hazard sections.
The Ball, Tower, and Openings
The glossy orange ball is your moving focus, but you do not steer it directly. The tall, light-gray cylinder stays in the center while curved purple ledges wrap around it at different heights. Each tier has gaps that expose part of the column. Turning the tower brings those gaps into or out of the ball's path.
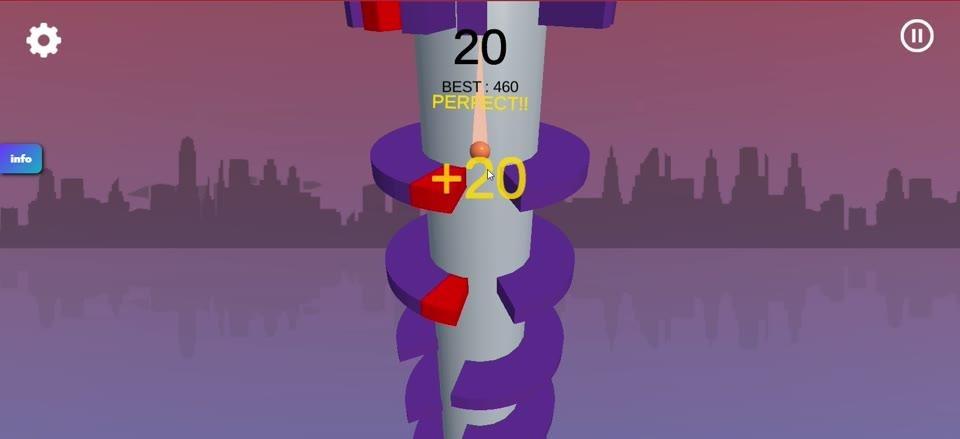
Figure 4. Separated purple arcs leave an open passage beside the central gray column.
A typical stretch goes like this: the ball bounces above one tier, you bring an open gap beneath it, and it falls toward the next set of arcs. Then you turn the tower again to find the next safe route. Purple platforms can absorb a bounce, and some may break when the ball strikes them. You may also see small purple and red pieces beside the rings as you descend.
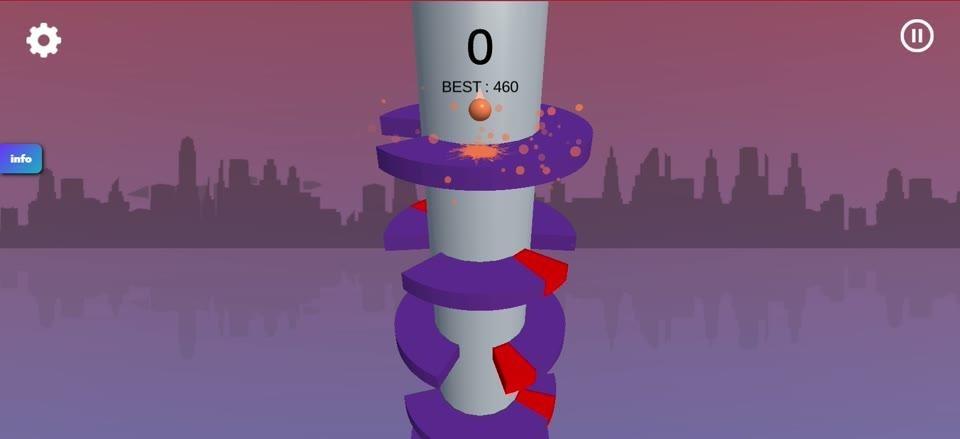
Figure 5. Orange flecks scatter near the ball and the curved platform surfaces during a descent.
Purple Platforms and Red Hazards
The purple arcs are the ball's regular platform surfaces. Some may break when struck, although a bounce does not mean every purple piece will shatter. Red wedges and block-like sections interrupt the rings. Their bright color is your clearest warning: one contact with a red section ends the current run.
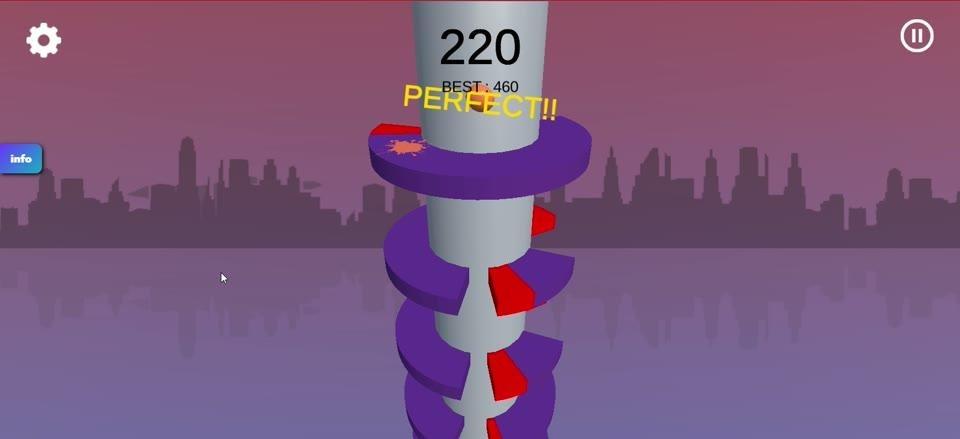
Figure 6. Bright red portions stand out against the purple rings along the ball's route downward.
Small purple and red fragments sometimes sit apart from the larger arcs. Orange splashes and sparks also flash near the ball or on the purple surfaces. These details make the action easy to follow without changing the basic task: guide the ball through the open spaces and keep it away from red.
Scores, Bonuses, and Levels
The large black number near the top of the screen tracks your current score as the ball descends through the tiers. Yellow PERFECT!! lettering can appear with a point bonus, including visible popups such as +20, +40, and +180. Those bursts celebrate rewarding moments in a run; the game does not need a complicated point table on screen for you to see the total climbing.
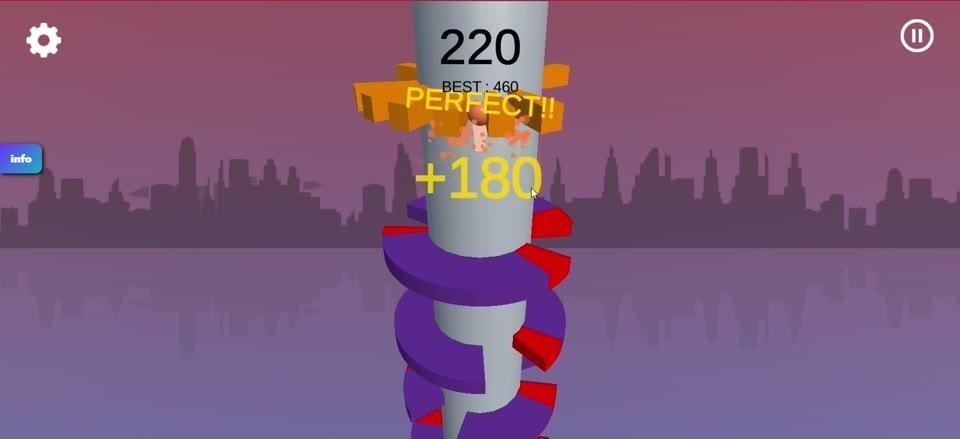
Figure 7. A yellow PERFECT!! callout and bonus number appear over the tower during a scoring moment.
A smaller BEST figure sits beneath the current score so you can compare an attempt with the strongest recorded result. Helix Jump has multiple levels, and later ones become harder, bringing new chances to test how precisely you rotate the tower and avoid red sections.
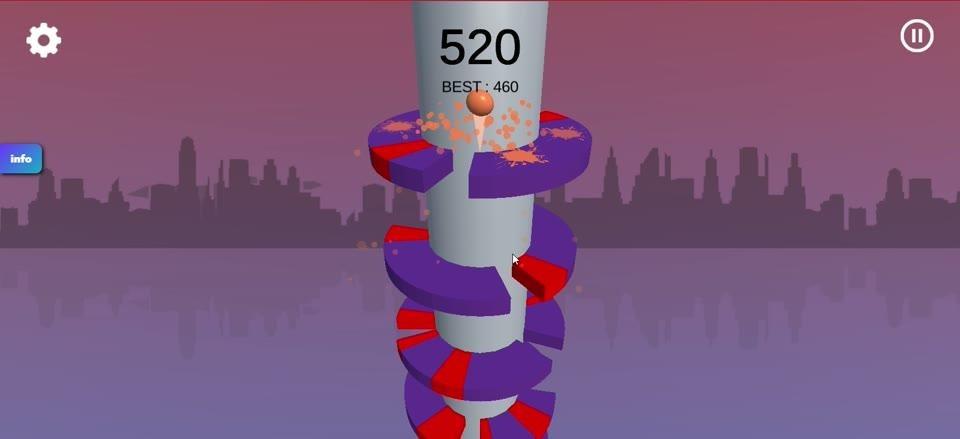
Figure 8. The top-center display places the current score above the smaller BEST record.
Failure, Retry, and the Screen
Your immediate success is making it safely down through more tiers, adding to the score, and progressing through harder levels. Touching a red section cuts that attempt short. The game can show a yellow TRY AGAIN message, and a fresh run begins with the current score back at zero. The BEST record remains visible across attempts, giving you a mark to beat after a mistake.
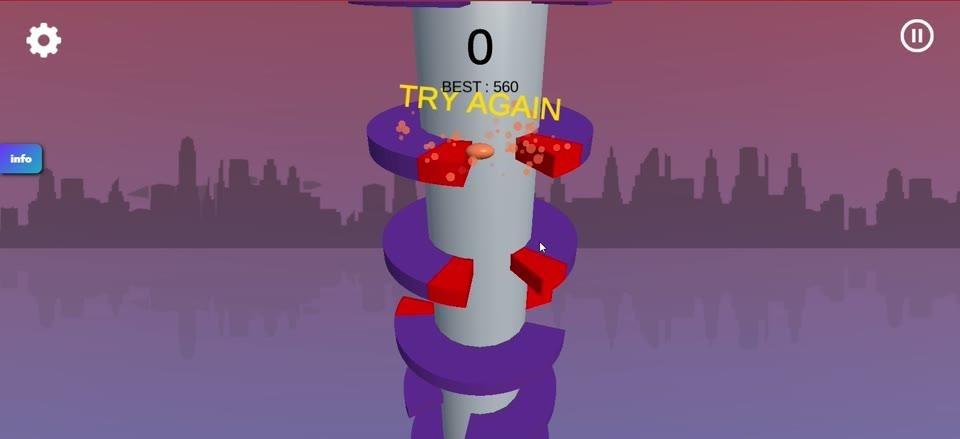
Figure 9. Yellow TRY AGAIN text appears near the ball beneath the score and BEST display.
The rest of the screen stays uncluttered. A small white gear sits at the upper left, a circular two-bar icon at the upper right, and a short blue info tab sticks out from the left edge. The score remains the main reference while the ball and the next platform gap command your attention.
Visual Style
Our tower rises against a pink-to-purple evening sky. A dark, tightly packed city skyline stretches across the horizon, with a softer, reflection-like version fading into the lavender space below. This quiet backdrop makes the bright orange ball and the stacked rings feel suspended high above the streets, just as in the lantern-tower story.
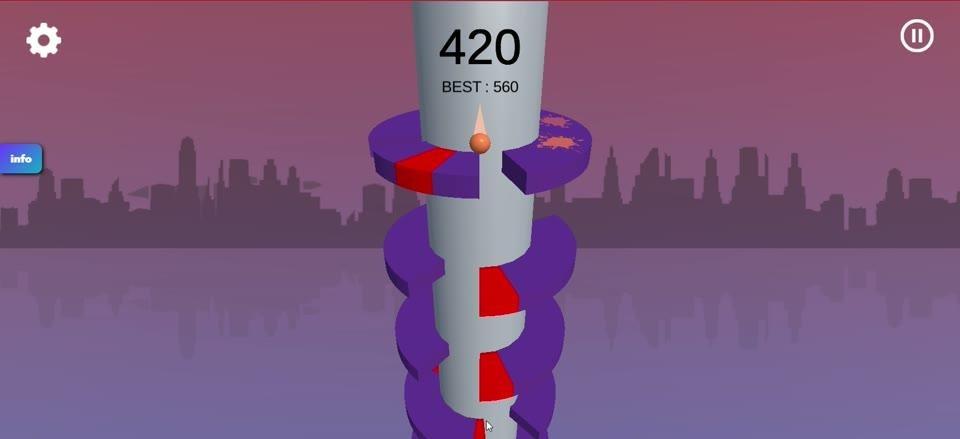
Figure 10. The segmented tower stands in front of a dark city silhouette and a softened reflection-like skyline beneath a purple dusk sky.
We kept the playable shapes bold and readable: a pale gray column, thick violet arcs, unmistakable red danger sections, and a glossy orange ball. Orange flecks add movement around impacts, while oversized yellow score messages briefly brighten the scene. The colors help you pick out the next safe opening without losing sight of the ball.
Standout Features
The most satisfying twist is that you turn the course instead of steering the ball. Its automatic bounce keeps the scene moving, and the gaps become moving targets that you bring into position. Every successful descent immediately reveals another tier to read.
The two main platform colors carry clear consequences. Purple arcs provide the regular route and may break under a hit; red sections end the attempt on contact. That simple difference makes a narrow opening feel like a meaningful choice, especially with the skyline stretching far below.
Marble races usually pit several marbles against one another along a prepared labyrinth course. [1] Here, you guide a single bouncing ball by changing the path around it. The rising score, occasional PERFECT!! bonus, and persistent on-screen BEST target give each short attempt a reason to improve the next one. Visit Slope3 to play Helix Jump and see how far you can guide the ball.
Controls
PC
1. With the game on screen, press and hold the mouse, then drag it horizontally left or right. The tower rotates around the orange ball, which bounces automatically.
2. Continue dragging to bring an open gap beneath the ball. It drops toward the next tier; adjust the tower again to line up another gap and avoid the red sections.
Mobile
Not supported.
References
[1] Rolling ball sculpture. https://en.wikipedia.org/wiki/Rolling_ball_sculpture
[2] Kinetic art. https://en.wikipedia.org/wiki/Kinetic_art
[3] George Rhoads. https://en.wikipedia.org/wiki/George_Rhoads
[4] Automaton. https://en.wikipedia.org/wiki/Automaton
Image Credits
Rolling Ball Sculpture (RBS) Arkadiusz Kamiński Kineticart.eu.jpg - Areklodzpl - ccby-sa4.0. https://commons.wikimedia.org/wiki/File:Rolling_Ball_Sculpture_(RBS)_Arkadiusz_Kami%C5%84ski_Kineticart.eu.jpg License: https://creativecommons.org/licenses/by-sa/4.0
Street Clock & Rolling Ball Sculpture.jpg - Jphill19 - ccby-sa4.0. https://commons.wikimedia.org/wiki/File:Street_Clock_%26_Rolling_Ball_Sculpture.jpg License: https://creativecommons.org/licenses/by-sa/4.0
